How To Guide: Applying Textures in Formlabs PreForm Software
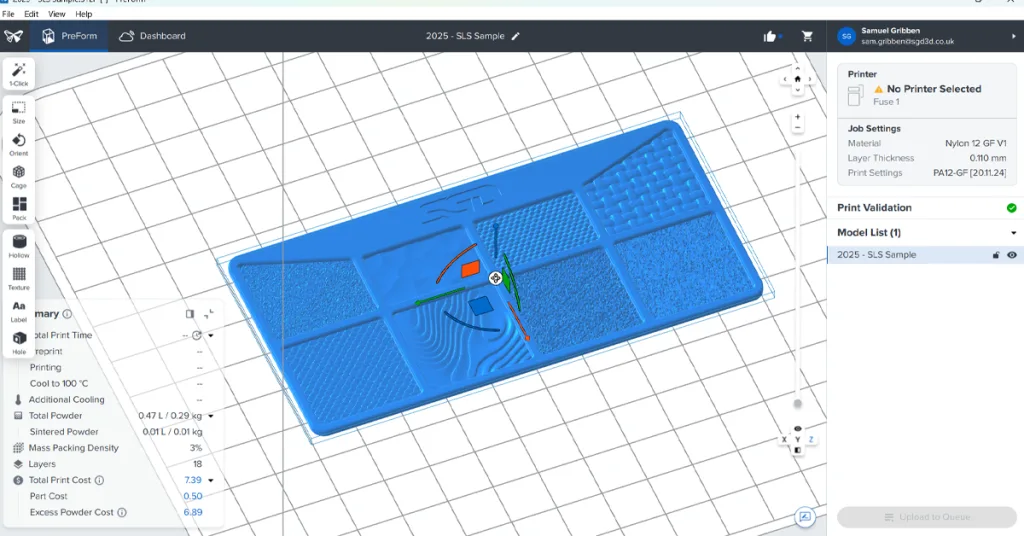
One of the most striking yet underutilised features in Formlabs PreForm is its native support for texture mapping — letting you add rich surface detail without needing to sculpt every bump in CAD. In this how-to guide, we’ll walk you through how to paint faces in your 3D model, export the appearance data via STEP, and then bring it into PreForm for final texture assignment.
Whether you’re after a subtle grain, a bold embossing, or a complex displacement pattern, this workflow lets you blend the freedom of CAD design with PreForm’s intuitive texture tools. We’ll also highlight key tips — like choosing the right amplitude for SLS parts and printing textured surfaces at angles — to help you get the most from each print.
Ready to bring your parts to life? Let’s dive in.
3D Printing News: Formlabs Excites with Innovative New Tech in Spring Announcement

Formlabs unveils their latest hardware, materials and software releases
Blog Post: Heroforge 3D Printing Service – How to 3D Print Miniatures

Heroforge characters are typically exported out at 30mm height and 1” base diameter when downloaded from the app. This is sometimes okay for some 3D printing technologies; however, some small details and complex geometry may not translate well on a small scale.
We recommend scaling the model to a larger size to improve the level of surface detail. As different 3D printing technologies have various constraints & minimum design requirements. Check out our design guide for more information.